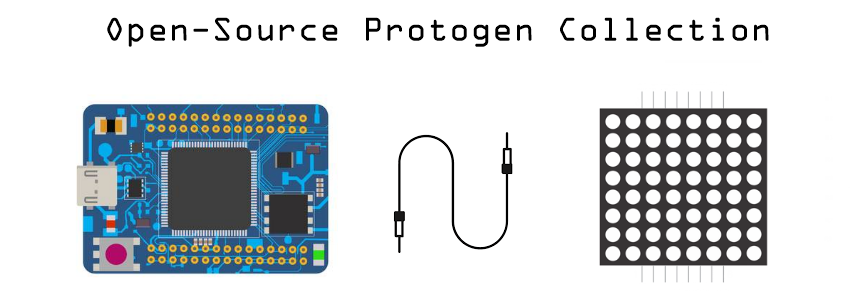
What You'll Need
Hi there! I'm glad you've decided to join me in the interest of building LED protogen fursuits. You should know that this project will require quite a bit of work and money, but it's satisfying when things come together. I'm going to be explaining the code I use as thoroughly as possible. I'll also document building the suit itself.
If you're here before buying anything, great -- it's always good to look around and see if this is right for you first. Let me provide you some links so you can decide if you're ready to invest in this.
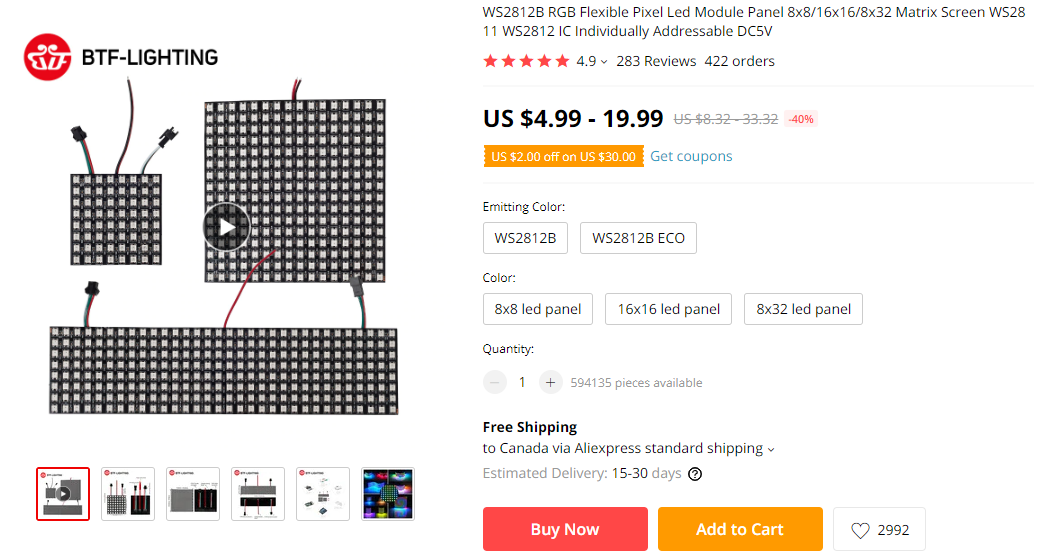
First, you'll want to look at what kind of LED board you're using. I use WS2812B flexible boards, which can be had cheaply on AliExpress. The links may expire, but you can always search yourself on the site. I bought from BTFLighting [1], [2] and zofipo, and both have worked great for me.
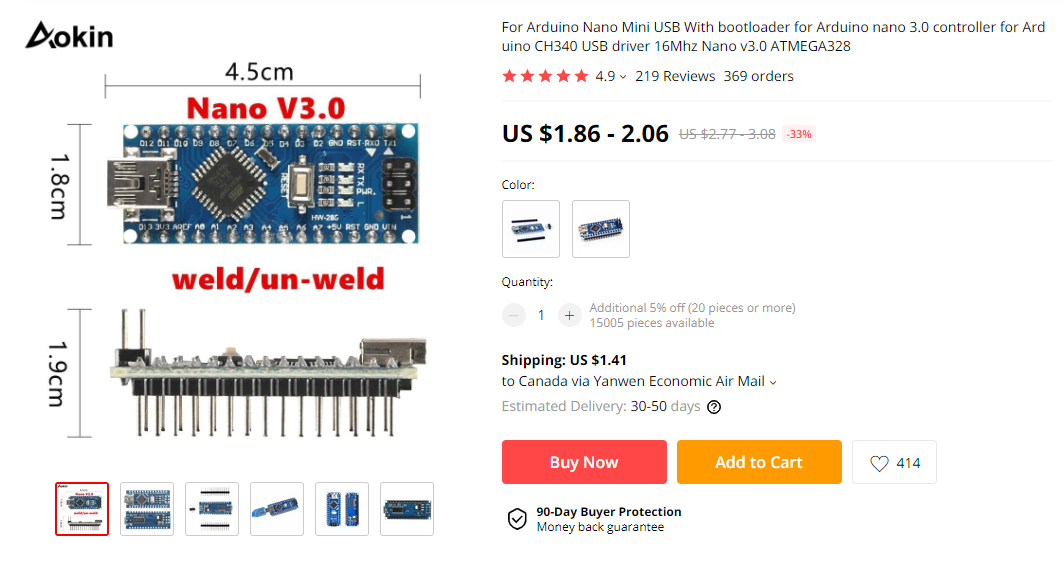
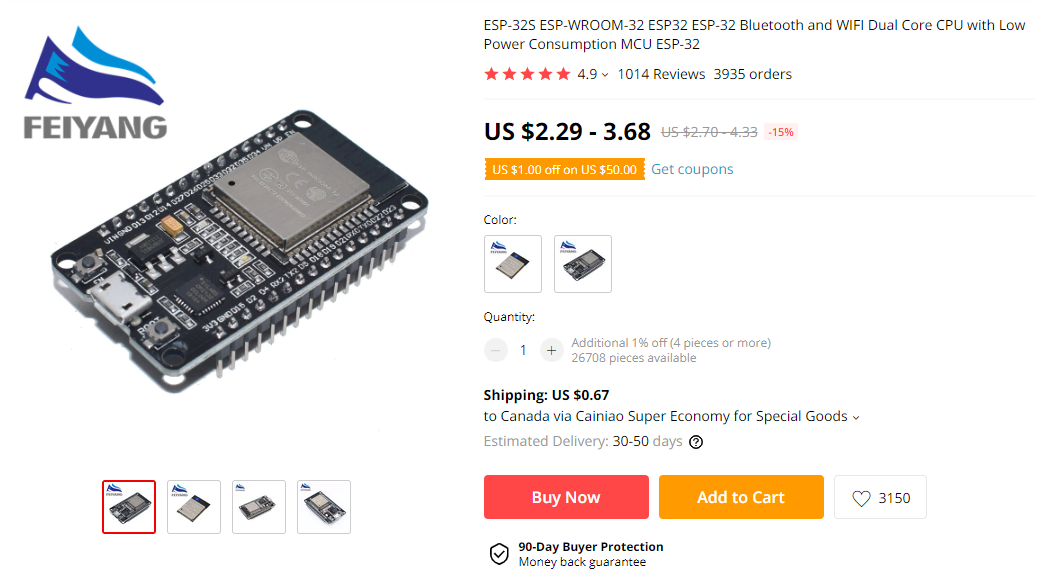
Next, you'll need some microcontrollers. Though limited in memory, the Arduino Nano is compact and power-efficient. At the time of writing, I'm waiting on delivery from this store but my orders from AOKin and GREAT WALL worked great. If you're getting a Nano, get the 328P variant instead of the 168. I repeat, do not get the 168. It does not have enough memory. Some boards have Mirco USB connectors instead of Mini USB, so those may be more convenient for you. If you want more memory you can get an ESP32 (I haven't tested these). Buying the pre-soldered boards will save some time -- but hey, while you're here, learn to solder.
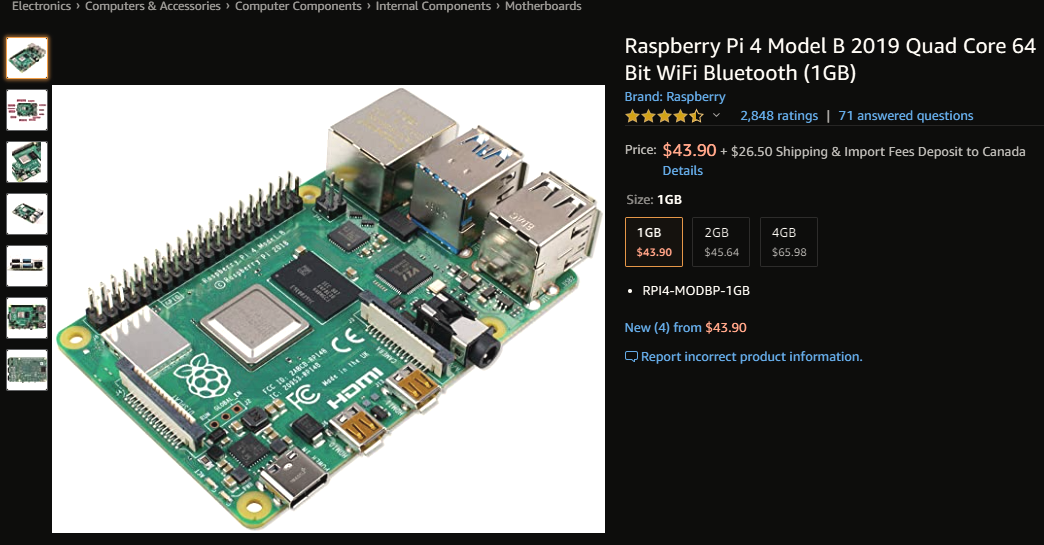
My fursuit has dynamic emote switching, so it also uses a Raspberry Pi to communicate with those Nanos. I bought this locally. Unfortunately, this one is somewhat pricier from retailers no matter where you shop. It's a full-fledged computer.
A power source comes next. I considered 18650 Li-ion batteries for a long time but ended up foregoing them due to needing such high amperage that it was just not worth risking an unprotected circuit. My choice of solution was NiMH AA batteries. They are 1.2V apiece, bringing them to 4.8V when 4 are in series in a battery holder. One downside of NiMH batteries is that they take a long-ish time to charge from empty, but the ones I've linked are quite high-capacity and won't run out on you halfway through the day. Just pack a charger, just in case. DO NOT TRY TO CHARGE NiMH BATTERIES IN OTHER KINDS OF BATTERY CHARGERS :)
You can do emote switching using buttons, but I chose to use reed switches, which are magnetically triggered. These will be placed in the paw along with a magnet elsewhere in the suit.
You'll also want a soldering iron, jumper wires and a breadboard, resistors, and capacitors.
That's just the electronics. You'll need foam, fur, and any parts you want to add (3D printing comes to mind). I got my foam for my legs and paws at a local fabric store and my fur from BigZFabric. I also highly recommend ordering helmet parts from Kaiborg Studios, basically the only person that does this kind of thing. Trying to thermoform and model and print everything from scratch is gonna suck. You can do it if you want. It's just... gonna suck.
Alright. You're still here, so I assume you're not scared away quite yet. Once you've got your materials, swing by the next page and we'll talk about the wiring.