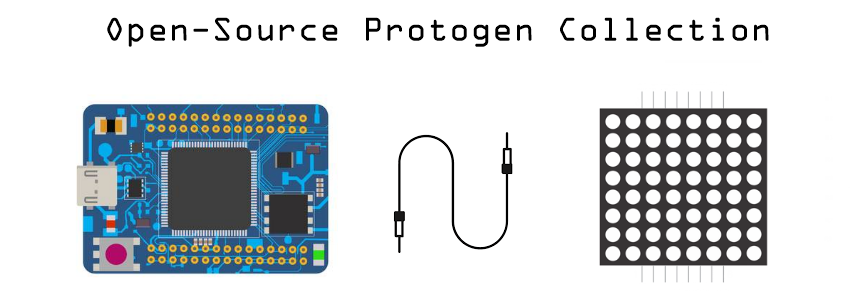
Wiring Your First Matrix
Alright, you ready? We're going to start with an 8x8 matrix. I'm going to be working without a breadboard, so if you need instructions on how to use one, take a look at this.
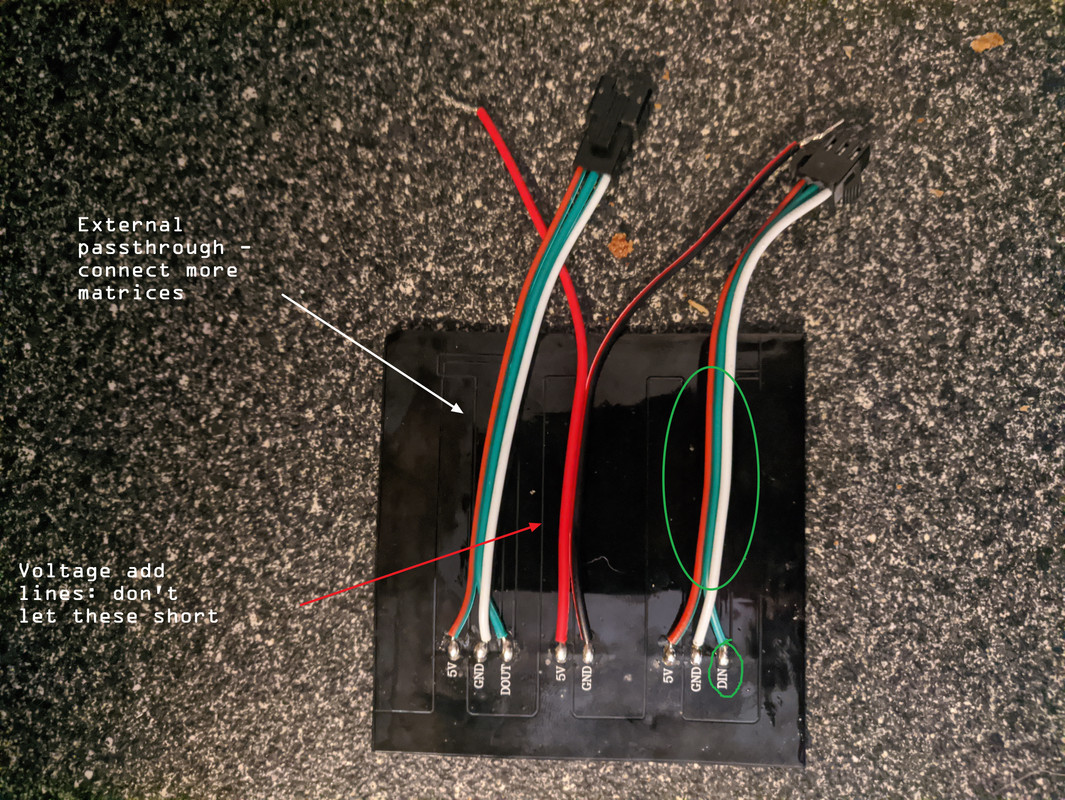
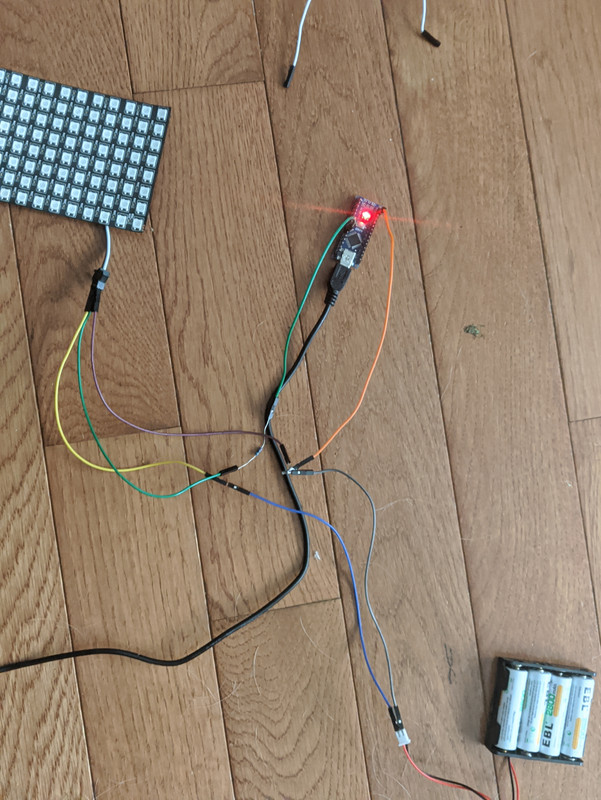
On the back of your matrix will be several wires. Some models have one set (they suck), some have two and some have three. If you have more than one set, look for the set of wires with a DATAIN or DIN pin. If you're not using a WS2812B matrix, it may also have a CLK pin.
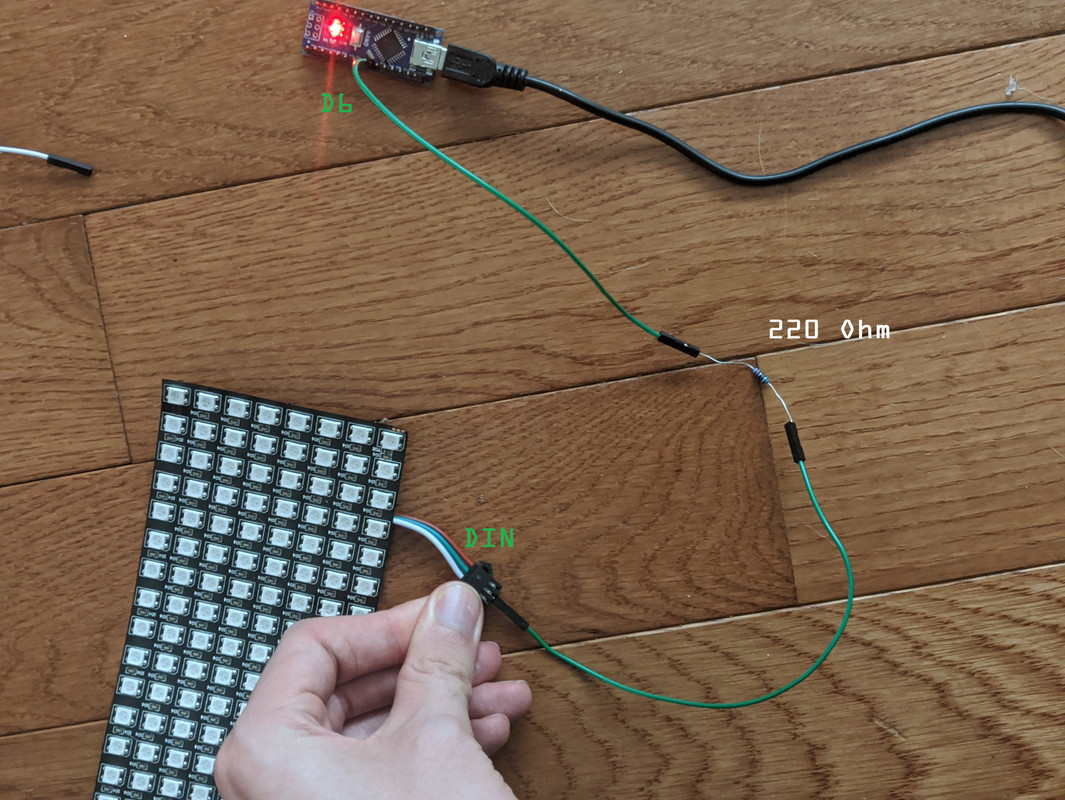
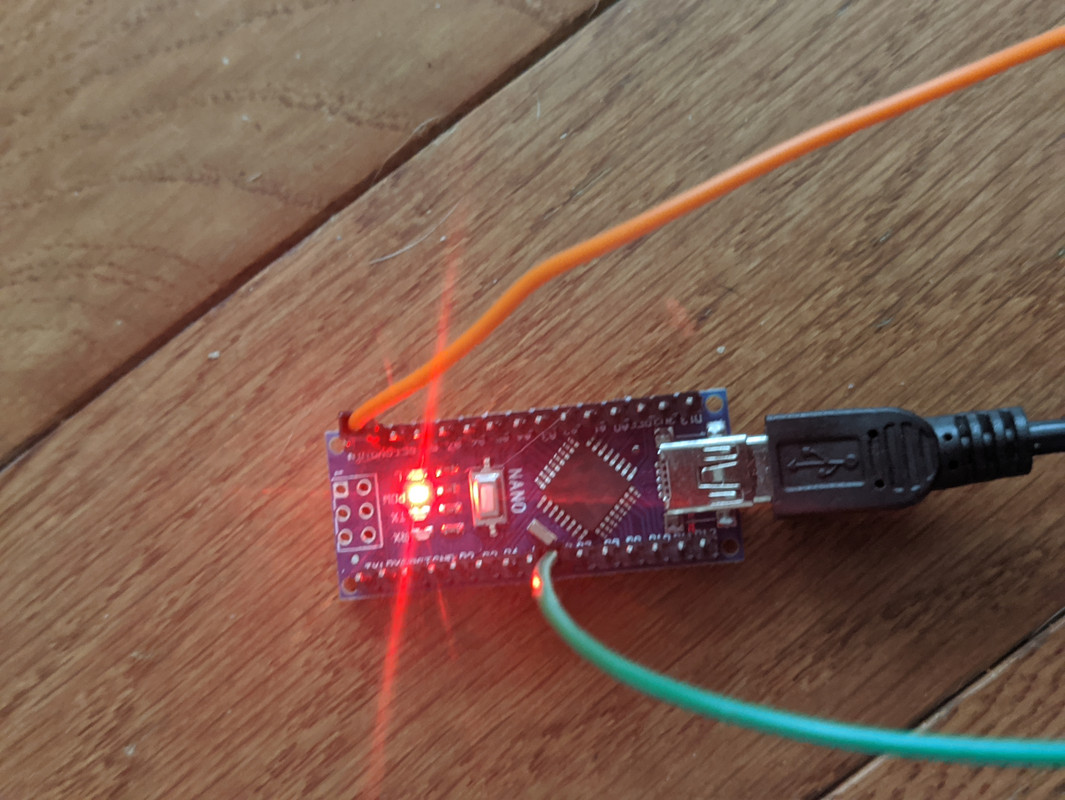
Take your jumper wires and attach a wire to the DIN wire. It should be green, so try to make your jumper wires green too, just to start. It avoids confusion. On the other end of the wire, attach a 220 Ohm resistor. This resistor prevents voltage spikes and keeps your matrix safe. Attach a wire onto the other end of the resistor and connect it to pin 6 of your microcontroller.
Next, let's connect the batteries. Remember, playing with electricity can be hairy, so try to have some gloves nearby, or suffer the consequences when you have to rip a shorted battery off of a superheated contact.
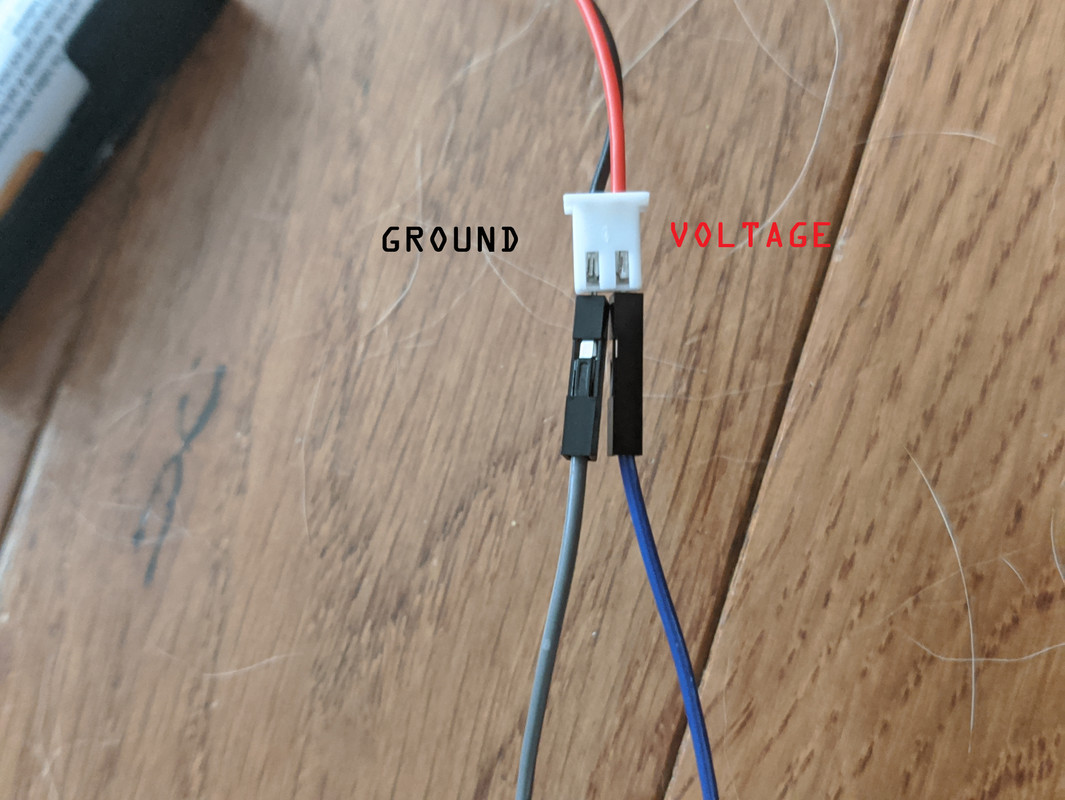
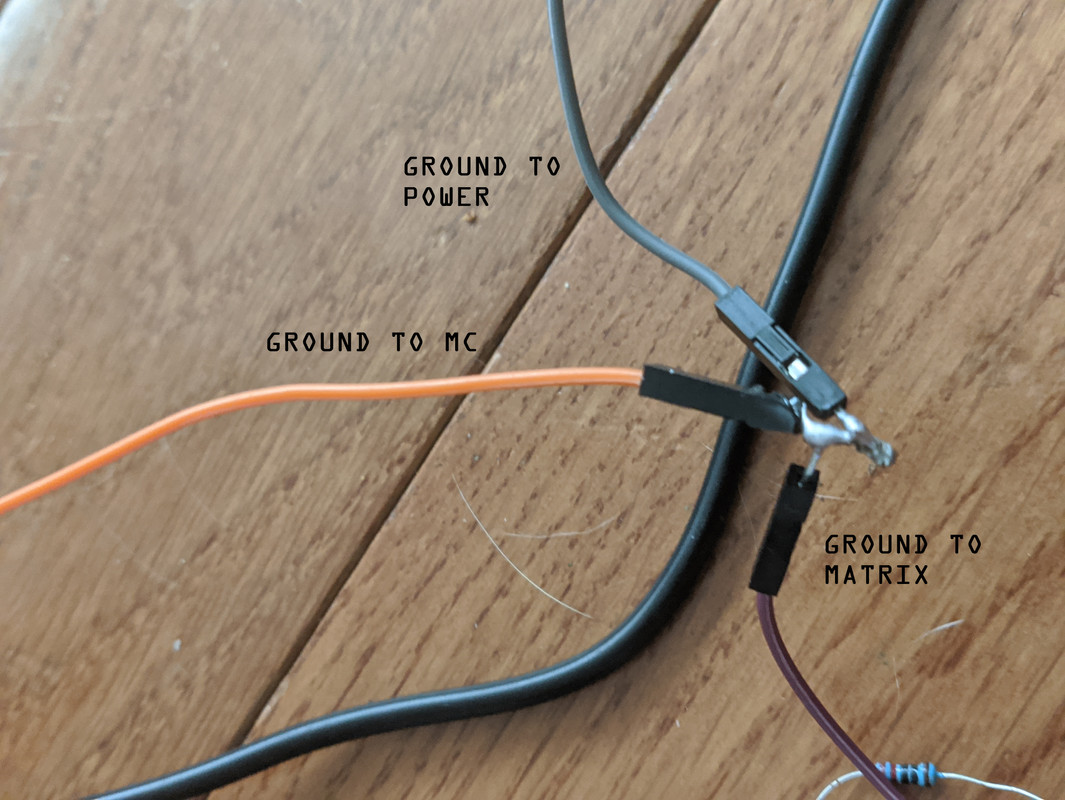
Take the empty battery holder and connect a black wire to the ground wire. This ground wire is going to need to connect to two other wires, so you will either need to cut and strip it to connect it to two other wires, or solder it to those wires. One ground wire will attach to GND on your microcontroller, and the other will go to the GND pin on your matrix.
Connect a red wire to the voltage wire and connect it directly to your matrix. Later, when you are not running off of a computer, you will need to split this wire as well so your microcontroller will have portable power, but for now that's not a concern.
That's it, you're wired! Slot your batteries into the holder and... nothing will happen. That's normal! We need to push some code before anything will happen, so jump on over to the next page and we'll get a blink test running on your microcontroller.