This project demonstrates an end-to-end data engineering pipeline on Azure, using the Adventure Works dataset. It covers data ingestion, storage, transformation, and visualization.
Adventure Works Dataset on Kaggle
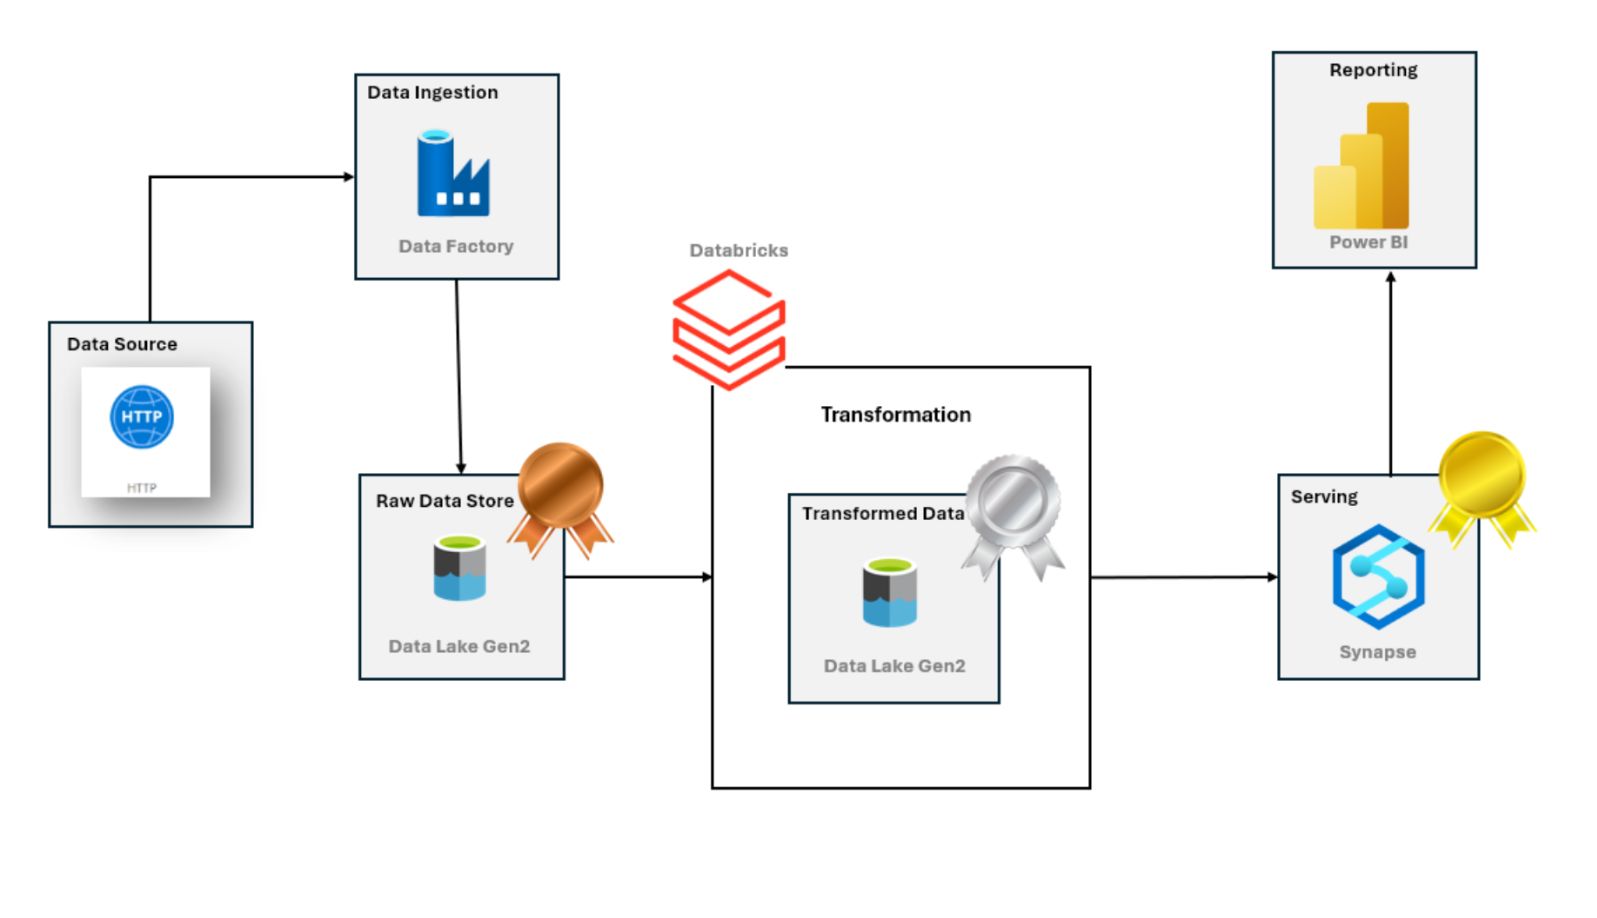
- Azure Data Factory: Data integration and workflow orchestration.
- Azure Data Lake Storage Gen2: Highly scalable and secure data storage.
- Azure Databricks: Data engineering, transformation, and aggregation.
- Azure Synapse Analytics: Data warehousing and analytics service.
- Power BI: Data visualization and business intelligence.
- SQL: Storing processed data for analysis (Gold Layer).
- Pyspark: For Transformations in Silver Layer.
-
Create Resource Group:
adventure -
Create Storage Account:
adventure918- Primary Service: Azure Data Lake Storage Gen 2
- Performance: Standard
- Redundancy: Locally-redundant storage (LRS)
- Enable hierarchical namespace: This option creates a Data Lake instead of blob storage.
- Access Tier: Hot
-
Create Azure Data Factory:
adventureddff- Navigate to the storage account, under Data Storage, click on Containers to create
bronze,silver, andgoldlayers.
- Navigate to the storage account, under Data Storage, click on Containers to create
- Open azure data factory studio and Create 2 Linked Services:
- Source: HTTP:
- Name:
httplinkedservice - Base URL:
https://raw.githubusercontent.com - Authentication: Anonymous
- Name:
- Source: Azure Data Lake Storage Gen2:
- Name:
datalakelinkedservice - Storage Account Name:
adventureddff
- Name:
- Source: HTTP:
-
In Author tab: create a pipleine
GitToRaw- Drag "Copy data" activity and name it as
Copy data- In "source" tab, create new data source
httpand file format ascsv---> Name:ds_http- Linked service: select
httplinkedservice - Relative URL:
punam918/Adventure_works_Data_Engineering_Pipeline/refs/heads/main/Data/AdventureWorks_Products.csv - click OK
- Linked service: select
- In "sink" tab, create a new sink data source
Azure Data Lake Storage Gen2and format ascsv---> Name:ds_raw- Linked service:
datalakelinkedservice - File path:
bronze/products/products.csv
- Linked service:
- In "source" tab, create new data source
- Click on "Debug" --> To run the pipeline
- Drag "Copy data" activity and name it as
-
"Publish all"
-
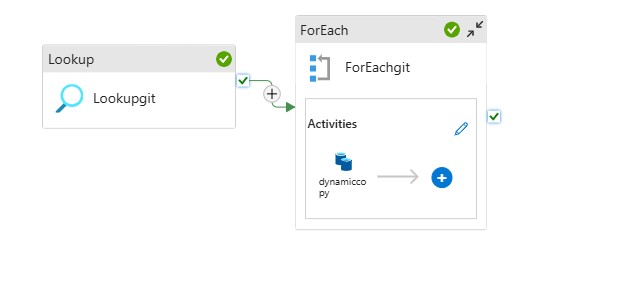
since we have around 10 files we need to create 10 different pipelines. But this is not a standard approach. We should create a Dynamic pipeline.
- In Author tab: create a pipleine
dynamiccopy- Drag "Copy Data" activity and name it as
dynamiccopy- In "source" tab, create new data source
httpand file format ascsv---> Name:ds_http_dynamic- Linked service: select
httplinkedservice - In Advanced: Click on "Open this dataset"
- Relative URL --> Add Dynamic content
- Create a new parameter
p_rel_urlofstringtype - click on
p_rel_urland OK
- Linked service: select
- In "sink" tab, create a new sink data source
Azure Data Lake Storage Gen2and format ascsv---> Name:ds_raw_dynamic- Linked service:
datalakelinkedservice - In Advanced: Click on "Open this dataset"
- File path: file system ->
bronze - Directory -> add dynamic content -> Create a new parameter
p_sink_folderofstringtype - File name -> add dynamic content -> Create a new parameter
p_file_nameofstringtype
- Linked service:
- In "source" tab, create new data source
- Drag "Copy Data" activity and name it as
-
Create Azure Databricks Workspace:
adbawproject- Managed Resource group name:
managed-adb-aw-project - Click Create
- In compute Tab, click on + to create compute
- Cluster Name:
AWProjectCluster - Single Node
- Access mode: No isolation shared
- Node type:
Standard_DS3_V2 - Uncheck "Use Photon Acceleration"
- Terminate After: 20
- Cluster Name:
- Managed Resource group name:
-
Permissions Setup: Now, we need to setup permissions for databricks to access the data lake
- First way: we can use microsoft entra ID to create an service application to be kept in between Databricks and datalake
- Another way: We can use azure storage access key to access data lake
- Run this code in notebook
spark.conf.set(
    "fs.azure.account.key.<storage-account>.dfs.core.windows.net", "<storage-account-access-key>"
)
-
Tranformations: In Workspace Tab, create a folder
AW_Project- In
AW_Project, create a notebooksilver_layer- In top, connect to cluster
AWProjectCluster - Now write a code for transformations and then write the transformed data into
silvercontainer of datalake storageadventure918 - refer to
Scripts/silver_layer_transform.ipynbfile for code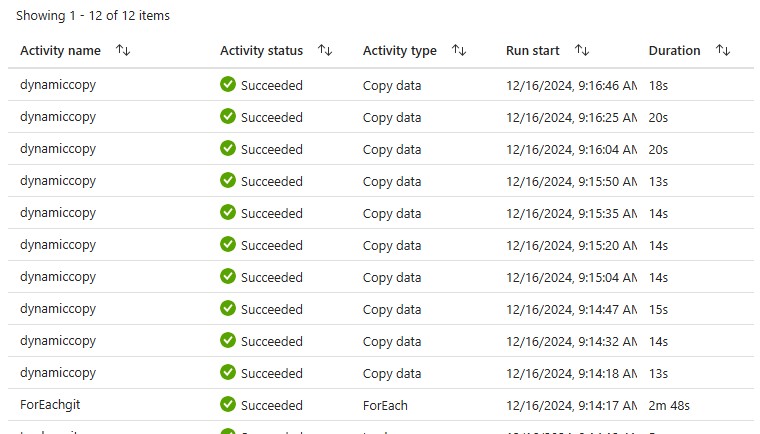
- In top, connect to cluster
- In
-
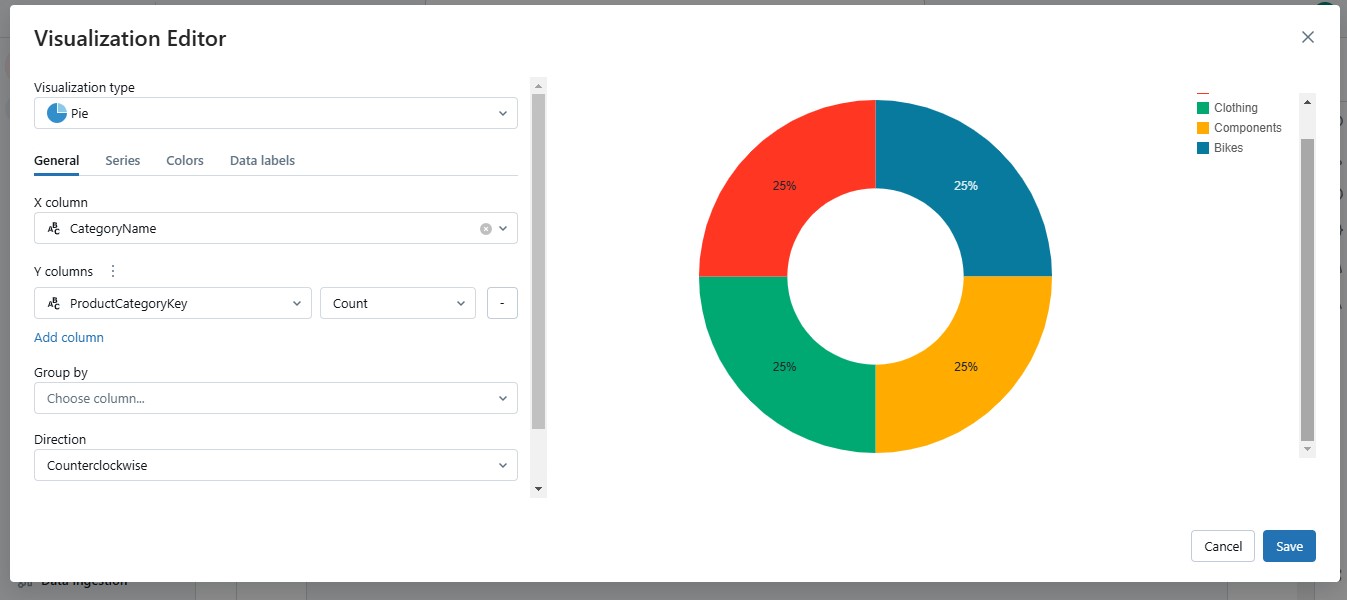
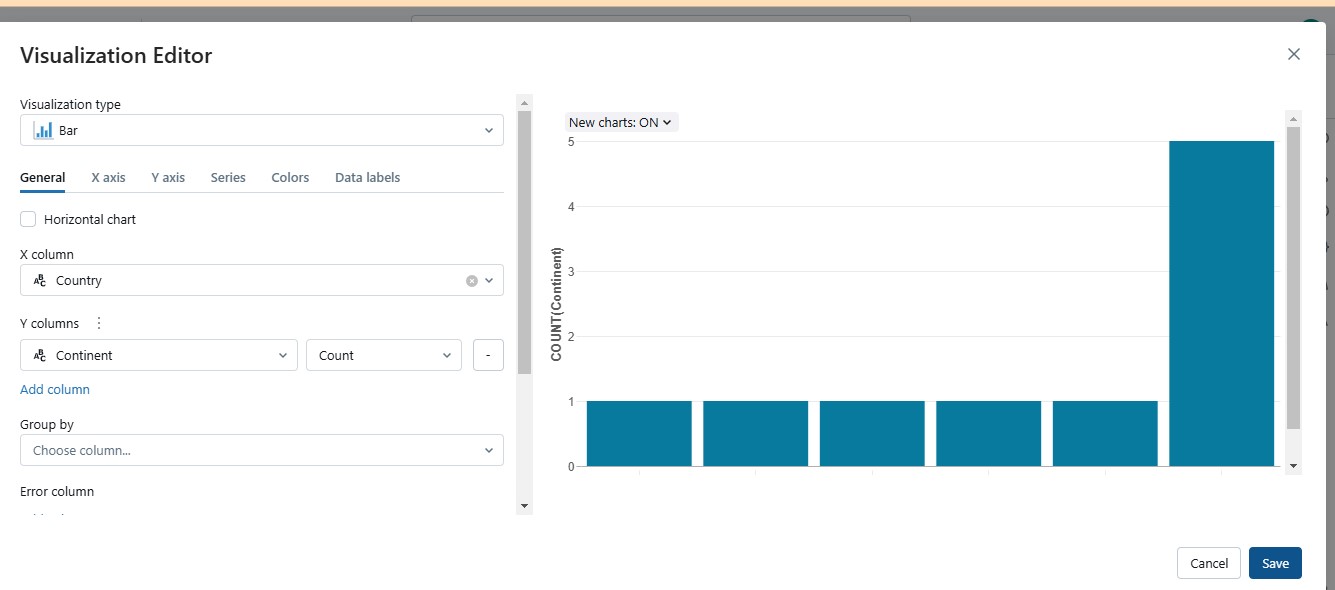
Visualizatonindatabricks
-
Setup: Now, create a resource --> Azure Synapse Analytics
- Resource group:
AWPROJECT - Managed resource group:
awproject-synapse - Workspace name:
awprojectsynapseeeee - Select Data Lake storage -->
- Account Name: create new -->
ldefaultsynapse - File system name: create new -->
defaultsynapsefile
- Account Name: create new -->
- Click Next
- In security tab,
- SQl Server admin login name:
punam918 - SQL pwd:
<some-password>
- SQl Server admin login name:
- Create
- Resource group:
-
Data Lake Connection: Connect Azure Synapse Analytics to Data Lake
-
Go to data lake storage --> Access Control (IAM) --> (+) Add Role Assignment --> Select Role
Storage Blob Data Contributor -
Next, Select "Managed Identity"
-
Members: + Select Members
- Managed Identity: Synapse Workspace
- Select
awproject-synapse
-
Review + Assign
-
Go to data lake storage --> Access Control (IAM) --> (+) Add Role Assignment --> Select Role
Storage Blob Data Contributor -
Next, Select "User, group, or service principal"
-
Members: + Select Members
- select
<your-azure-account-emailID>
- select
-
Review + Assign
-
-
In Azure Synapse Analytics
- In Develop tab, Add SQL Script
- In Data tab, Create SQL database --> "Serverless" --> Database name:
aw_database--> create - Now, In SQL Script, we can see the database we created. Select
aw_databasefor the script to use.- Use
OPENROWSETfunction to see the data from data lake - Mention the above url in
OPENROWSETto read data. - Example SQL query
SELECT
    *
FROM
    OPENROWSET(
            BULK 'https://adventure918.dfs.core.windows.net/silver/AdventureWorks_Calendar/',
            FORMAT = 'PARQUET'
    ) as query1
- Use
- Now, create views for all the data files from silver layer
- Refer to
Create_views_gold.sqlfile
- Refer to
- Create External Tables (3 steps)
- Credential
- External Data Source
- External File Format
- Let's create
- First setup master key
CREATE MASTER KEY ENCRYPTION BY PASSWORD ='<some-password>'
- Setup data source for silver, gold layers
- Setup file format
- Refer to
create_exteral_table.sqlfile for code - Now, we create external tables using
CETASfrom views we have created
- First setup master key
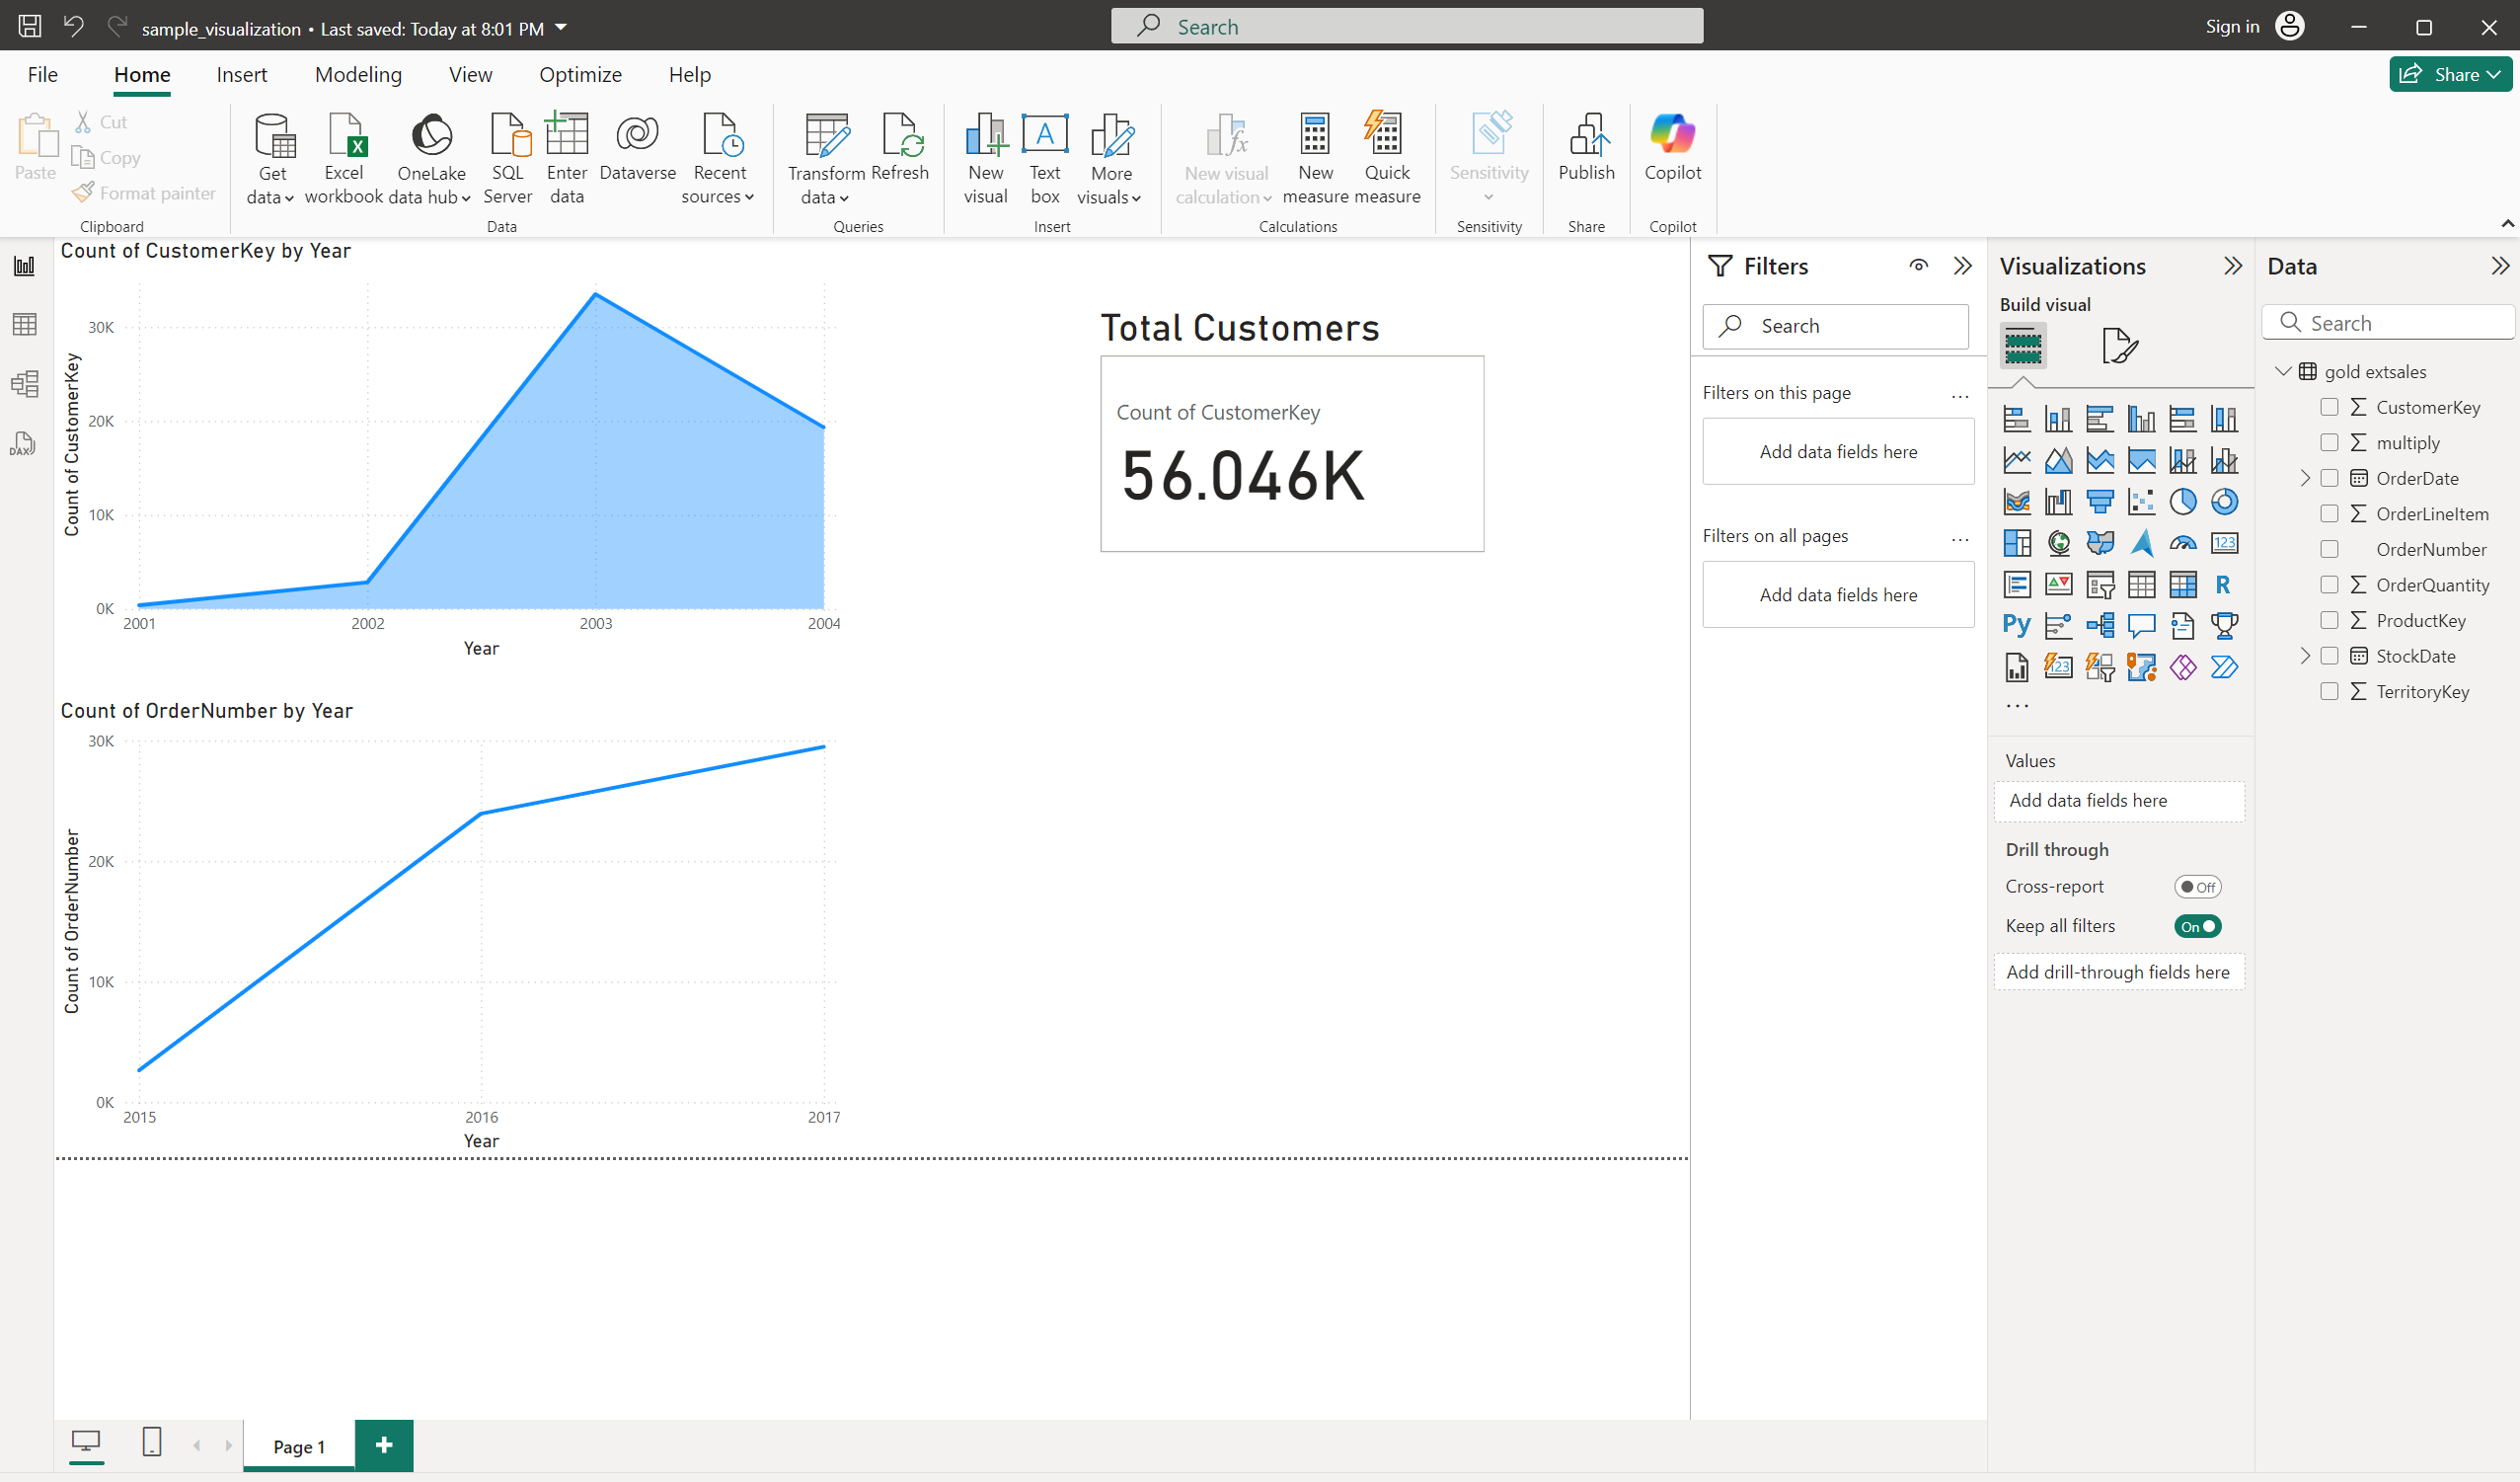
- Connect Power BI to the data
- Get serverless SQL Endpoint from azure synapse resource
- Click on Get Data in blank report --> Select Azure --> Azure Synapse Analytics SQL --> Connect
- Paste the Endpoint there
- Select
gold.extsalestable and load