Repository for mBlock Scratch extensions for evive
Scratch is a free programming language where you can create your own innovative and interactive projects, stories, games, and animations. mBlock is based on Scratch 2.0 and let you use evive for your projects through its Arduino plugins.
Follow the following steps to configure Scratch for use:
-
Download Arduino IDE from http://arduino.cc and install the latest version of the software.
-
Go to the Arduino download page (www.arduino.cc) and download the latest version of the Arduino software.
-
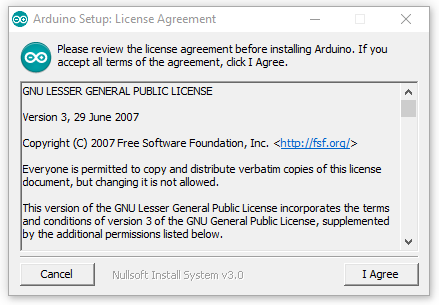
When the download is finished, run arduino-1.8.1-windows.exe (in my case) application. And click on I Agree.
-
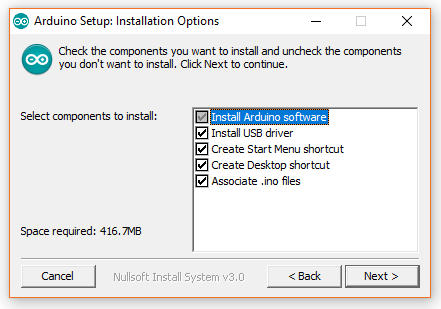
Choose the components to install (Recommended to install all components).
-
Choose the installation directory (Recommended to keep the default one).

-
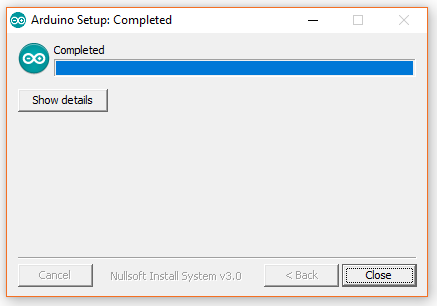
The process will extract and install all the required files to execute properly the Arduino Software (IDE).

-
Close the installation window when it’s complete.
-
-
Download and install the latest version of mBlock from http://mblock.cc. (Installation of mblock is simple and pretty straight forward. Here we are showing the installation steps for windows user only.)
-
Go to www.mblock.cc and download the program, by clicking on “Windows Download” buttons.
-
When the download is finished, unzip the file. In the folder, you will find mBlock application setup file (.exe extension). Run the setup.
-
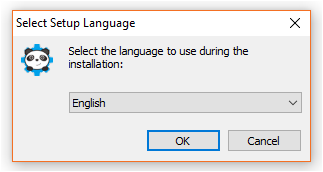
Choose the appropriate language and press “OK”. In our case, we are choosing English.

-
A new window will popup. Press “Next”.

-
Choose the installation directory (We suggest you to not change the directory). Then press “Next”.
-
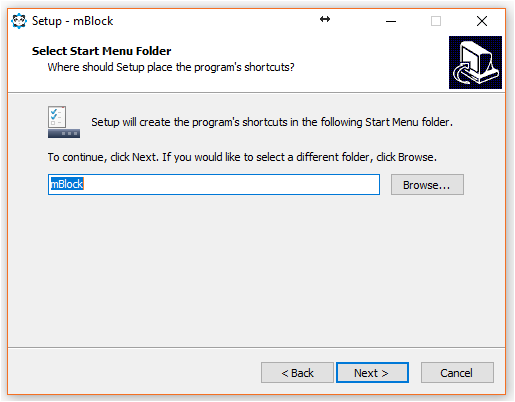
Select start menu folder, where the setup will place the program’s shortcuts. Then press “Next”.
-
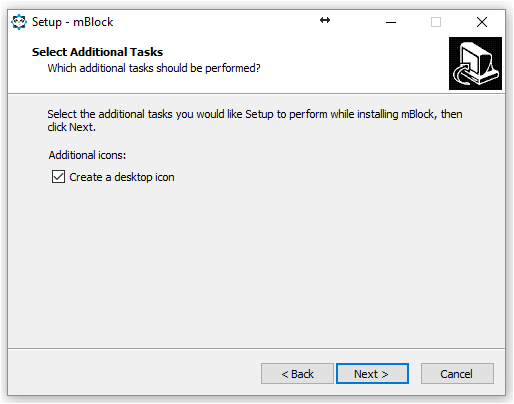
Check the “Create a desktop icon”, if you want to create the desktop icon. Then press “Next”.

-
Press “Install”.

-
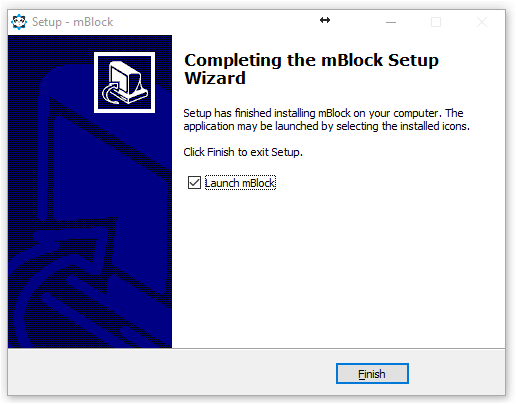
After the installation is finished press “Finish”. You have now installed Scratch in your computer.
-
-
After installing Arduino IDE and Scratch, go to My Computer > Disk C > Program files. There you will find Arduino folder, where Arduino IDE is installed. Copy that folder.
-
Then, in the same folder (Program Files), you will find mBlock folder. Go into the folder.
-
There you will see another Arduino folder. Delete that folder.
-
Copy the previous Arduino folder here.
-
Install extensions:
-
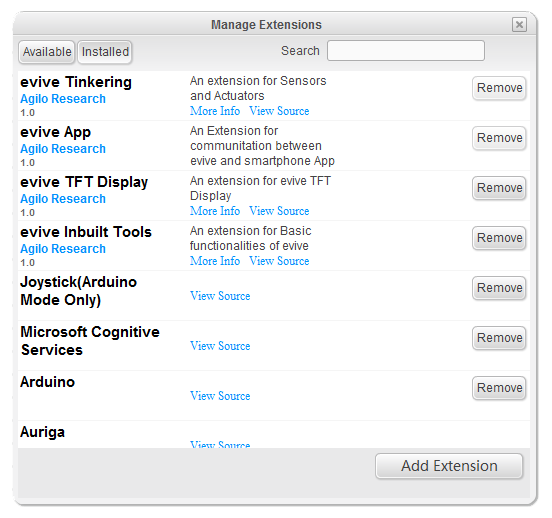
Download the extensions (Arduino, evive App, evive Inbuilt Functions, evive TFT Display and evive Tinkering) from here: https://github.com/evivetoolkit/eviveScratchExtensions/tree/master/Extensions.
-
Open mBlock
-
Go to Extensions in Toolbar and click Manage Extension
-
A new window will pop-up with two tabs (available and installed). Click on intalled, and then click on Add Extension.
-
Change the file type to .zip and select the previously downloaded extensions one by one.
-
After adding all the extensions, close the pop-up. In Robots palette, you can see the extension blocks.
-
-
To work on Scratch mode, you have to upload a firmware to evive. Follow the steps:
- Download the firmware from here: https://github.com/evivetoolkit/eviveScratchExtensions/blob/master/Scatch%20Firmware/eviveScratchFirmware.zip
- Unzip the folder.
- Open eviveScratchFirmware.ino in Arduino IDE.
- Upload the code to evive.
- Open Srcatch, go to connect, then serial and select COM Port.
- You are all set to work in Scratch mode.
Scratch Mode: Under Scratch mode which is defualt mode when mBlock start, mBlock could program robot through USB serial port, the robot is running a program could communicate with mBlock, and robot could intercate with Stage and create more insteresting projects and animations.
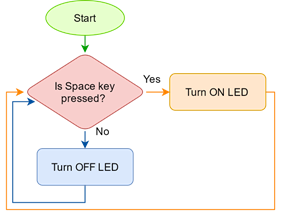
In this example, we want to turn on an LED whenever you press Space in your keyboard. There is a programmable LED in evive which is connected to the digital pin 13. Hence, whenever the pin 13 is HIGH the LED glows and whenever the pin 13 is LOW it turns off.
We will be continuously checking if the Space key is pressed. This will be either true or false. Now, we will use conditional statements, which will take decision to execute particular statements according to the result. In our case, this is if-else, where if the result is true, LED will be ON, else LED will be OFF.
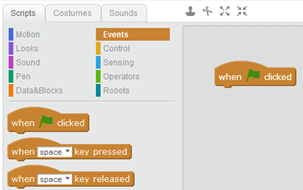
The next step is to express your logic in a way so that the computer can understand it. This is easy if one uses Scratch since it has built in blocks for basic functions and one does not have to write stuff every time. For e.g. there is a block named ‘when flag is pressed’, which starts the execution of the program when flag above stage is pressed which can be used to start our program:
- Whenever you want to run a code, you have to start with a Hat block which is present in Event category. As told above, there is a block named ‘when flag key is pressed’. We will use this block to start our program. Drag the block and drop the block in the script using mouse.
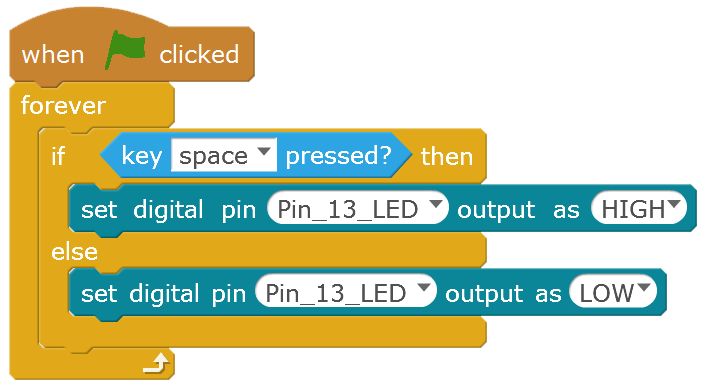
- Now, we want to run the code forever. For these type of functions there is a C block named ‘Forever’, which runs the code inside it continuously in loop. Drag the block and snap it below the hat block.
- To check the condition drag drop ‘If – Else’ block and place it inside forever block.
- To check if the key is pressed or not we will use ‘is key pressed’ from Sensing palette. It gives true when Space key is pressed and false if the Space is not pressed. Place it inside the if else block.
- To access the evive digital pin 13 upload evive Scratch Firmware.
- If want to turn ON the LED, digital pin 13 should be HIGH, which can be done using ‘set digital pin’ block. Drag and snap the block inside if block. Next to the pin inside the block you can see white space where you have to input the pin number (13 in this case). To turn the pin HIGH, select the option at the end of the block.
- Similarly, turn off the LED in the else block. The final script is given below.
Your program is ready now and you can press ‘space’ to start it. The whole script will start glowing indicating that the program is running. To stop it press ‘Esc’ on keyboard.
Arduino Mode Under Arduino mode,the instruction blocks will be tranfer to Arduino C++ into Arduino IDe, and user could modify code in Arduino IDe, and then upload the code into Robot. In that case, the Robot is running offline and it can not interact with Scratch’s stage.
In this example, we want to turn on an LED whenever you press tactile switch 1 of evive. The logic is similar to the previous example, you just have to change the hat block to Arduino Program and boolean block. The new script is shown below:
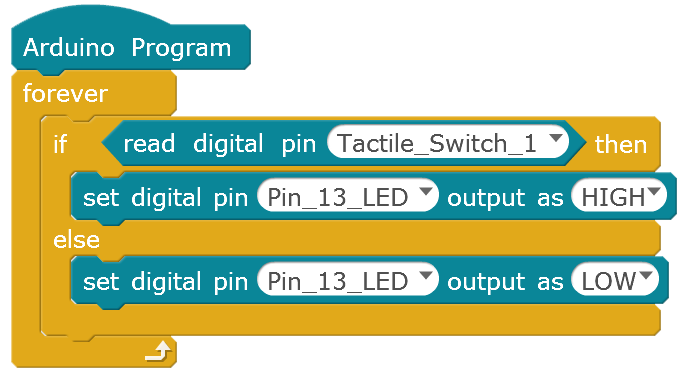
Right click on the hat block and click upload to Arduino. Upload the code and you are done.